
To find SQL Server Management Studio on your computer, first you must restart the computer. Next, search for it by name in the Windows Search bar. After restarting, the software should pop up. Make sure the port for your database instance is open in the Windows firewall and configured to listen to that port. Afterwards, you must connect to your server. The next step is to connect to SQL Server Management Studio and configure it.
Installing SQL Server
After installing SQL Server, you can start using it to manage data. You will need to configure the server pre-requisites. Then, the setup process will take you to the license terms screen. After you have read the terms, you can start installing SQL Server. The setup process will be completed once all the requirements have been met. You will then see a successful completion message. If all goes well, the installation of SQL Server will start.
To get started, open the Command Prompt app by searching for it in the taskbar. Click the “Run as administrator” option in the menu. Type yes to grant administrative access to the window. You should also change /Quiet to “/Passive”. After this, you need to download the MS SQL Server Management Studio application and install it. After installing SQL Server, you need to configure the database instance to listen on a specific port.
Installing SQL Server Management Studio
In Windows 10, you can install SQL Server Management Studio for free. To get the software, follow these simple steps. First, you should ensure that your PC has sufficient disk space. Next, click the “Install” button to launch the setup wizard. After the installation, you must restart your PC. If you encounter problems while installing SQL Server Management Studio, you can choose to send error notifications to Microsoft so they can fix them in future versions.
In order to use the software, you must install the required software. To do so, download the necessary files. In Windows 10, you must download the necessary software. In addition, you should have a database on your computer. Afterward, you can use SQL Server Management Studio to configure the database. After installing the software, you can use it to work with SQL Server 2019.
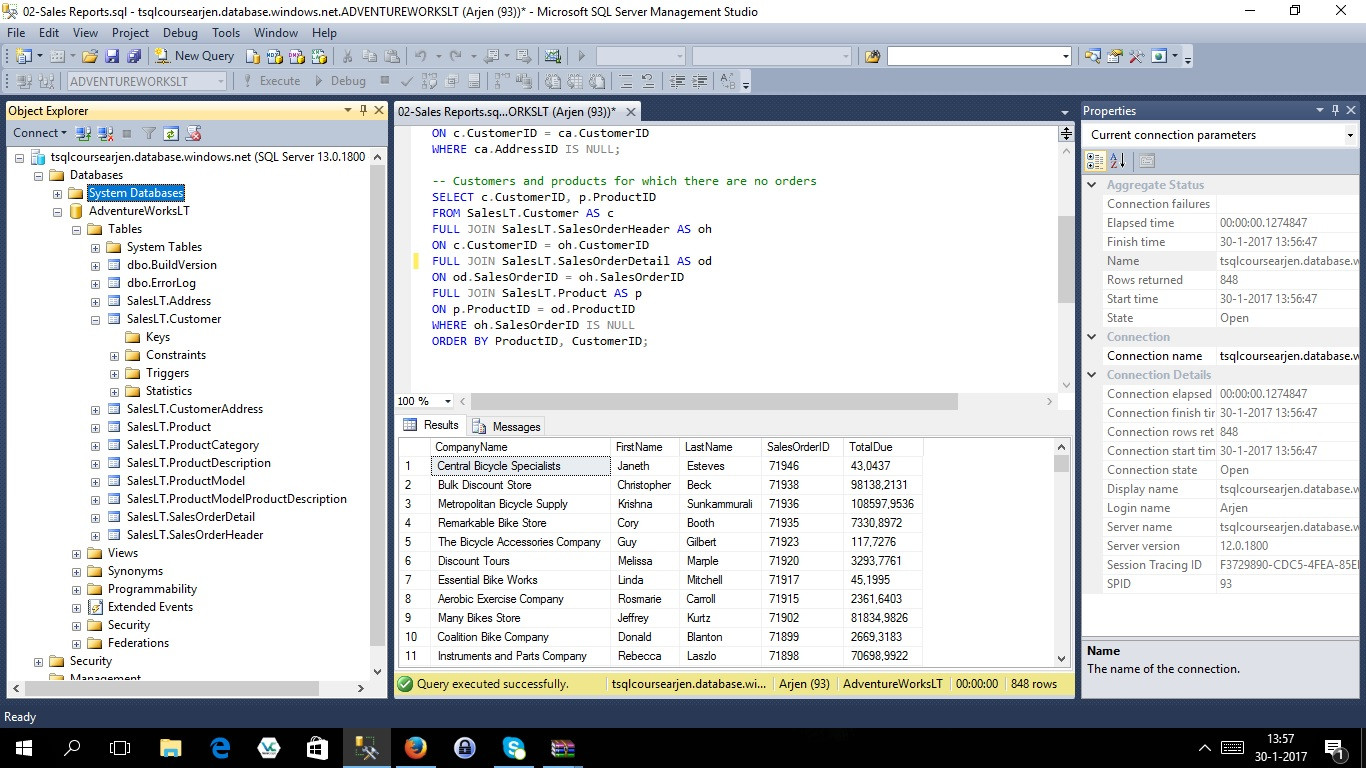
Connecting to SQL Server
Connecting to SQL Server in SQL Management Studio allows you to view and manage data in your database. You can find the server name in the Server Name box. If you are connected to a default instance, the server name will be the same as the computer name, but if you’re connected to a named instance, you’ll have to specify the name of the server and the instance. Here are some steps for connecting to your server:
In order to connect to your server from a remote location, you must first enable the TCP/IP protocol on your server. If you don’t do this, your connection will be rejected. To enable TCP/IP, right-click the server’s name and choose Properties. Change the port number to 1433. Once this is done, open the server’s Security Logins folder. You can then choose a new log-in and select the server name you just created.
Configuring SQL Server
To configure SQL Server, open the Object Explorer panel and right-click on Databases. Click Properties. Select the db_owner database role. Then, click the “Manage Security Policies” button. In the Security Policy dialog box, enter a password for SQL root. After that, select a policy for passwords. Click OK. Your SQL Server is now configured. It requires the System Administrator permission.
In SQL Management Studio, navigate to the Service Accounts tab. Click on the sp_configure command. This command will start the SQL Server service. Once you have started the service, you can configure other properties. To ensure the security policy is up-to-date, you must restart the server. For more information on server security, visit the Microsoft website. Here, you can learn about how to maintain a database’s security policy.