
If you’re wondering how to install Visual Studio 2019 on your Windows 10 computer, then read this article. This article will show you the steps necessary to download and install this popular software. The installation process is lengthy, and requires a good internet connection and a considerable amount of storage space. Make sure to plan for this before you begin. The process can take as long as a few hours, so make sure to set aside some time to complete it.
Installation process takes a long time
When installing Visual Studio 2019 on Windows 10, you will encounter various difficulties. Depending on your internet connection and system capability, the installation process may take as much as 2 hours. To avoid this, you should download the installer and install it on the hard drive. This process can take as little as 15 minutes or as long as an hour, depending on your system’s speed. The installation process will then restart your computer and show you a prompt window where you can choose which components you want to install.
Once you download and install Visual Studio 2019, it will install in the default language. You can change the language and click “Next” to continue. The installer will ask you to sign in or create a new account. If you are unable to sign in, just skip this step and continue later. Depending on your internet speed, the installation process may take quite some time. If you experience a lengthy installation time, you can download the offline installer files and install them.
Installation of Visual Studio 2022
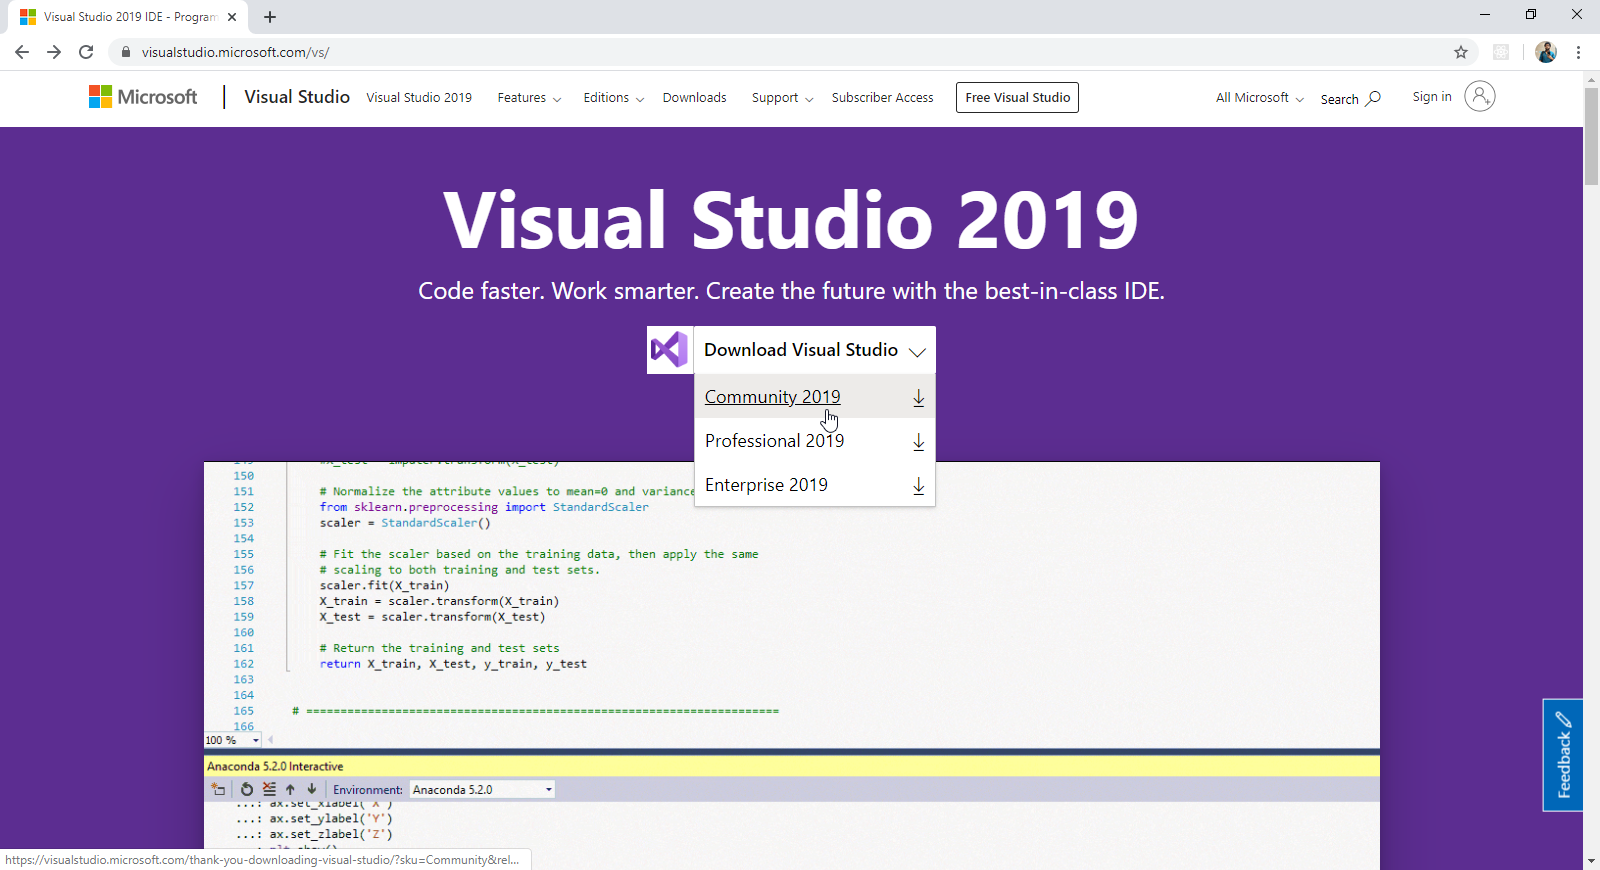
If you are wondering how to install Visual Studio 2022 on Windows 10, read this article. It will guide you through the process of installing the latest version of the popular IDE for developers. The process is simple and should work seamlessly on any Windows 10 computer. To install Visual Studio 2022, you first need to download the software. You can find the download location on your computer. Next, click the downloaded file and you’ll be taken to the download menu. This menu will list the various versions of Visual Studio that you can choose from, including Community, Professional, and Enterprise editions.
After you download the program, you can choose the language you want to use in the installation process. To choose the language, open the Language packs tab in the Installer program. Click on the language that you prefer and then click OK. This step will allow the installer to install Visual Studio 2022 in the language you choose. You can also install additional language packs separately by selecting them. If you are using a Windows 10 operating system, you should select the English language pack as the default language.
Installation of Visual Studio Professional
When you install Visual Studio 2019, it will install its components by development area, so you can easily select the one that best suits your needs. You can also install language packs by choosing which you want to use. When the installation process is complete, you’ll have to restart your computer and re-register your account, if necessary. Here’s how to install Visual Studio 2019 on Windows 10.
First, install Windows 7. To install Visual Studio, download the latest version. It will require around eight gigabytes of disk space, but you can also install it on another drive if you prefer. You’ll also need to reboot the computer after installing the software, and you may want to install it offline. It takes time to install, so be patient. Once the installation has completed, you can start working.